Breaking-in a New Chevy Crate Engine
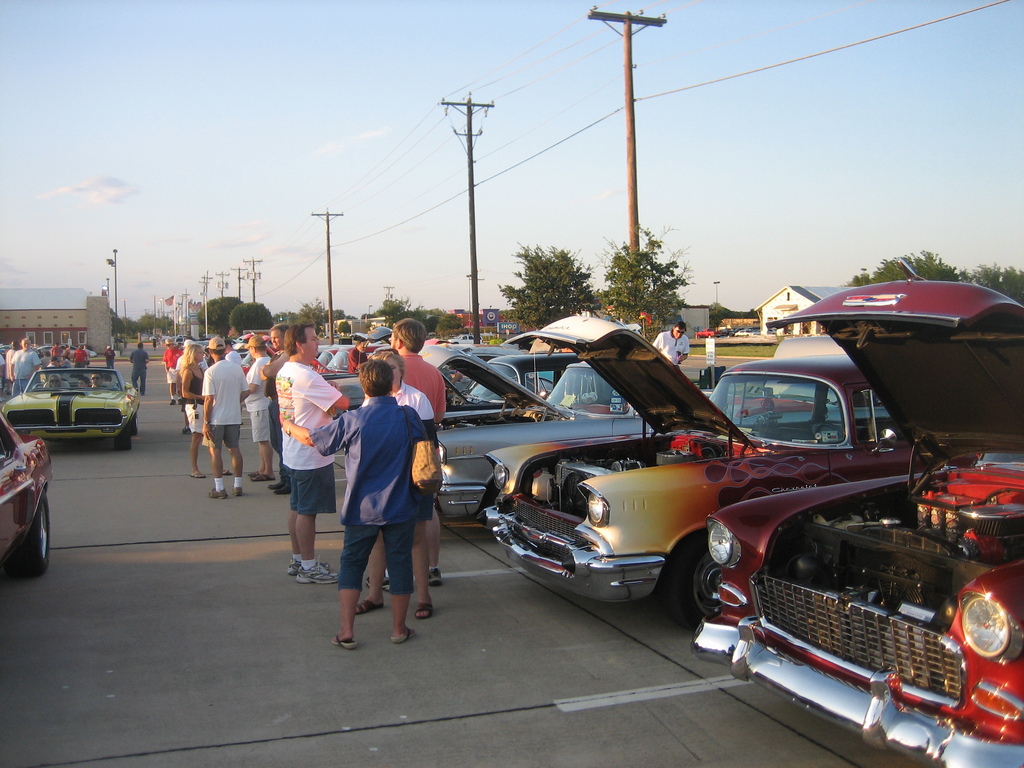
1955, 1956, 1957 Classic Chevy Tri Five
-Alan Arnell
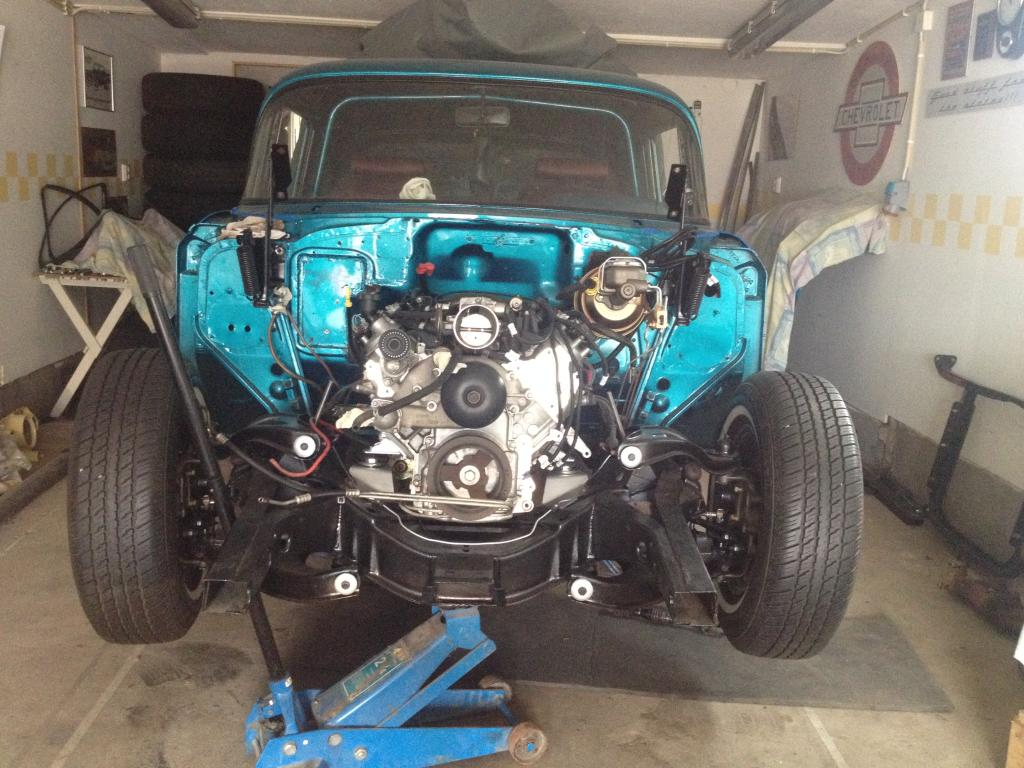
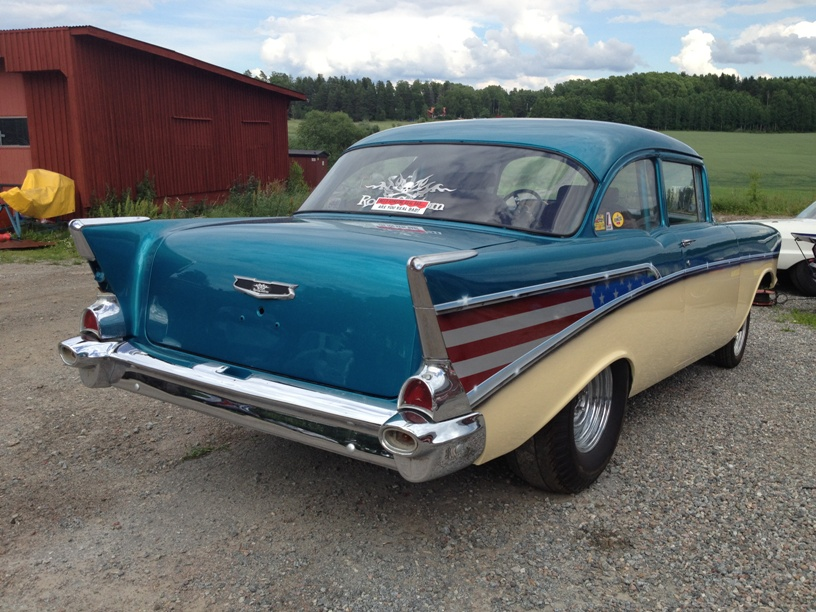
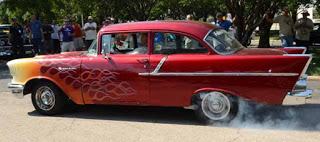
My ultimate day dream is to buy and install a new Chevy Crate engine in my vintage car. I would love to have a new LS or Vortec engine with a 4L60 automatic transmission. My non BelAir hardtop 1957 Chevrolet Model 150 2-door sedan currently has a 1977 350 cubic inch, 4-bolt mains engine. The engine is stroked out with a 400 cubic inch crank shaft making it a mild 383 cubic inch engine. True to the era of the 57’s restoration (done in 1978), the engine hooks up to a 4-speed Borg-Warner transmission.
For having a Hot Rod, a 4-speed is the best way to go. However, in my now new age demographics and what I want out of my Vintage Chevrolet, the 4-speed is now not the best transmission for me. I want an engine and transmission combination for long drives across the country instead of driving around like a 16 year old in 1974. I also reside in a large metro area that has traffic jams and high speed toll roads.
In the 57’s present configuration if I get stuck in traffic the clutch kills my left knee and 70 miles per hour takes 3200 revolutions per minute. Revving an engine that high is disconcerting when I am use to driving my Chevy Silverado pickup at the same speed at 1800 revolutions per minute. And, the gas milage on my 57 is only about 14 miles per gallon. All in all a real downer when you want to drive a Classic Chevy a 1000 miles to the Tri Five Nationals.
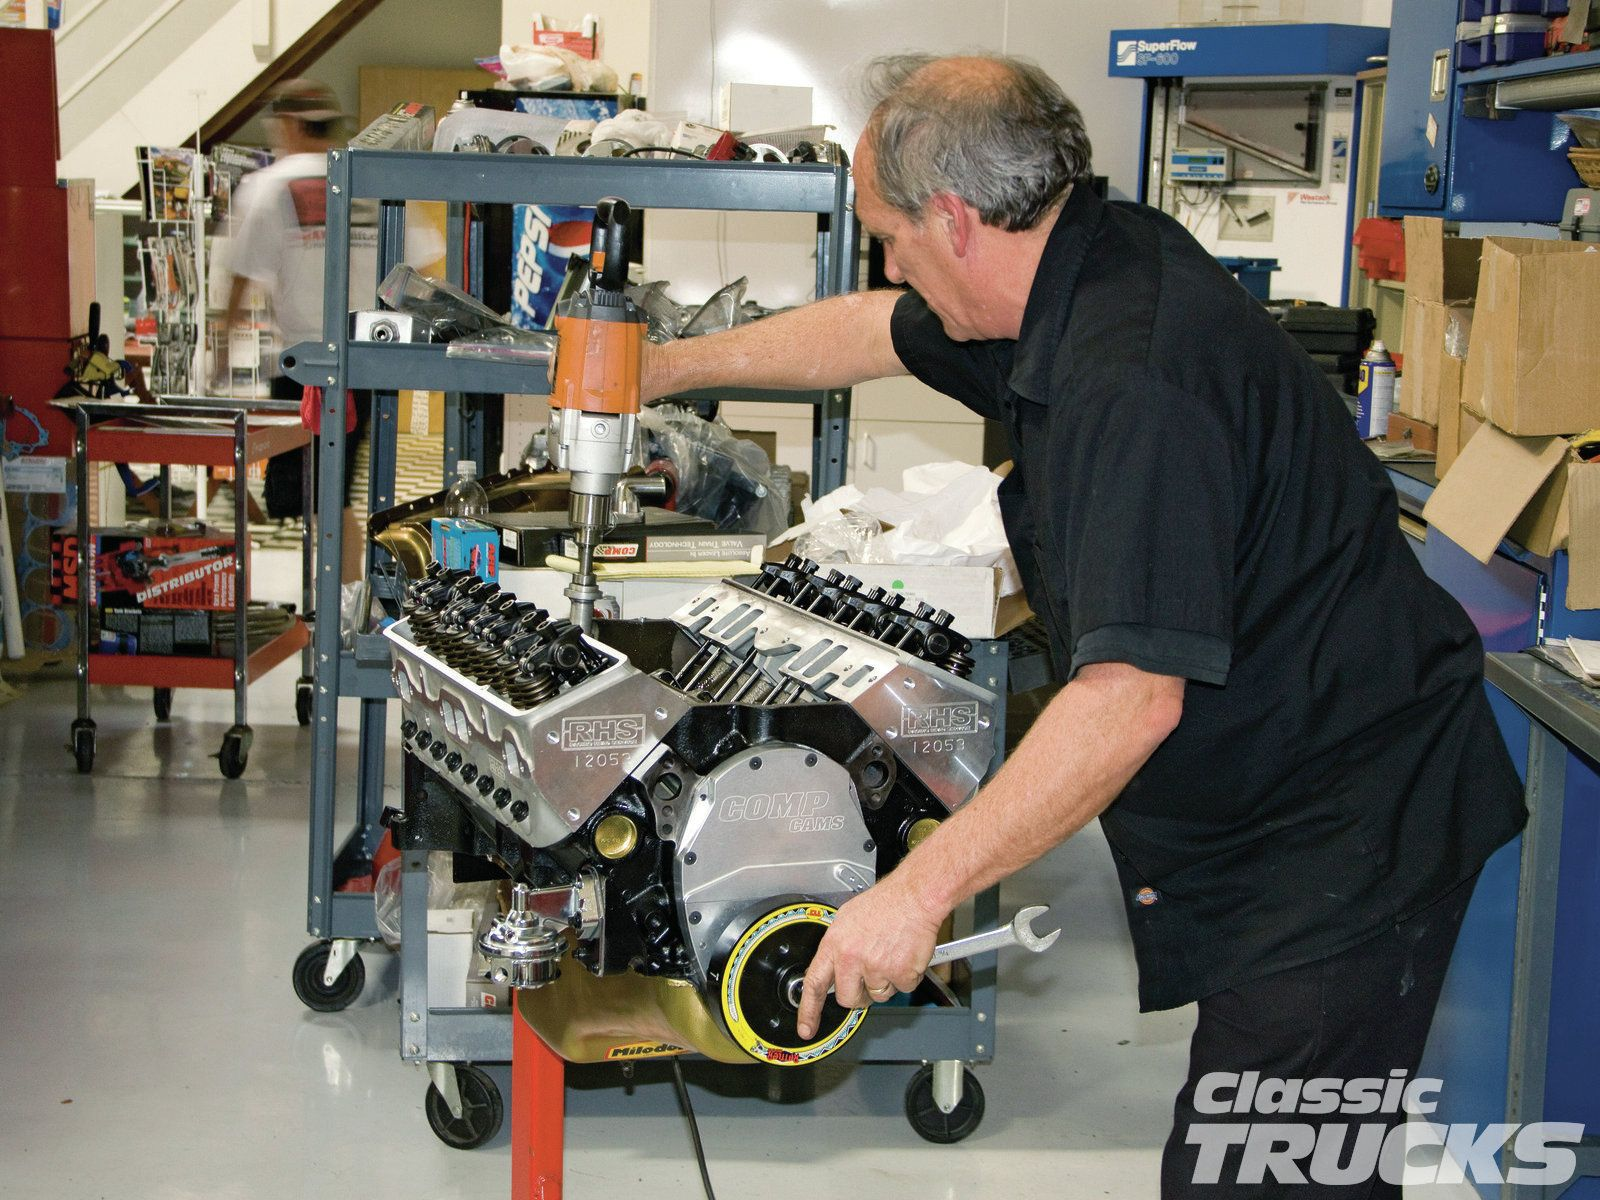
So let us assume I win the lottery and get that new LS 3. Below is the proper way to break in that new Chevy crate motor:
Chevy Engine Break-in Instructions
- Crate engines are very reliable out of the box as long as you follow the manufacturer's instructions. Some crate engine arrive already dyno-tested, while others are brand new. A tested engine has already been broken-in and has time on it. Where as a brand-new engine must be broken-in. Still, it is recommended that you still use the following break-in procedures for crate engines, pre tested or not.
- When breaking-in your engine, you need the help of a friend. Two sets of eyes are always better than just two eyes. Besides, it is a real hassle to go back and forth tapping and starting the engine for the first time. And, why not share the excitement!
- Lubricate the engine by turning the oil pump drive in the direction that the rotor normally operates with a speed handle or an electric drill. This procedure will make sure that the internal oil pump will lubricate the entire engine before startup. A “dry spin” could be a catastrophic, “My Bad!” for your new expensive engine.
- After spinning the oil pump add water to the engine. (not Anti-Freeze, just water, coolant will replace the water after a 50 mile break-in test run)
- Set the ignition timing.
- Fill the carburetor float bowls with fuel. Make sure that the carburetor is jetted correctly, because you do not want to run the engine too lean during its initial start and burn a valve.
- Now the engine should fire up immediately and begin its break-in period. (Yea right! There is alway something! When I put a different engine in my 1969 Chevelle-Malibu the distributor was 180 degrees off and I had to make number six cylinder be the new number one for the car to run. My buddy had built his engine instead of buying a crate motor. At start-up, nothing! After about an hour we found there was no fuel getting into the cylinders. After two more hours, we found out that he forgot to remove the plastic shipping tape off the inside fuel ports on the intake manifold.
Once the engine starts, immediately run the engine up to 2,000 RPMs. Then start varying the RPMs between 1,600 and 2,000 RPM for 15 to 20 minutes. Doing this up and down of the RPMs allows oil to splash up on the camshaft in an even pattern.
- During break-in have the mufflers hooked up so you will be able to hear potential problems before it is too late. And, your neighbors already hate you because of your car!
- With the engine in correct working order, drive your car for about 50 miles. At the end of the 50 mile trip, add coolant and change the oil and filter.
++++
!!!Support Texas Classic Experience!!!
Did you like the blog? If you did, the best way to support Texas Classic Experience is to share this post! Please tell others that you liked this post by sharing it with your car friends by sending them a link to this page. http://texasclassicchevyexperience.blogspot.com/
No comments:
Post a Comment
Note: Only a member of this blog may post a comment.