Hands-on Electrical Basics For the
1955, 1956, 1957 Tri Five Classic Chevrolet
-Alan Arnell
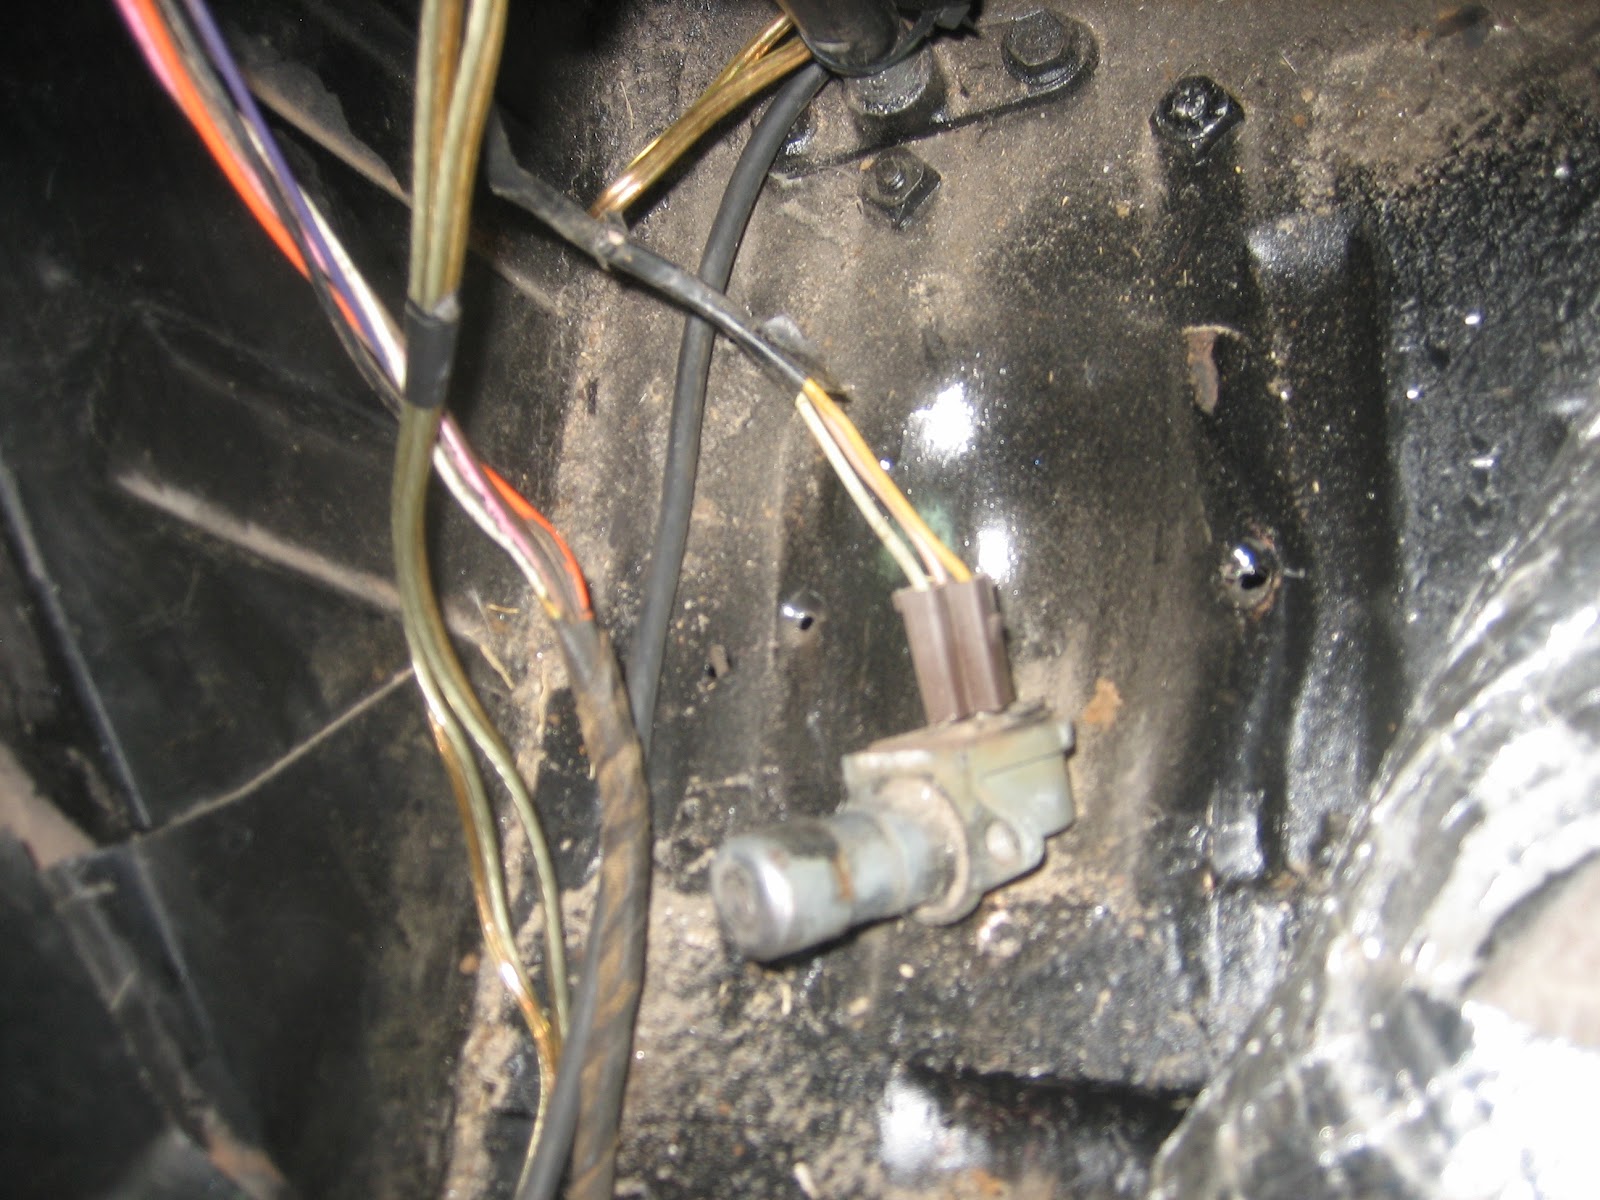
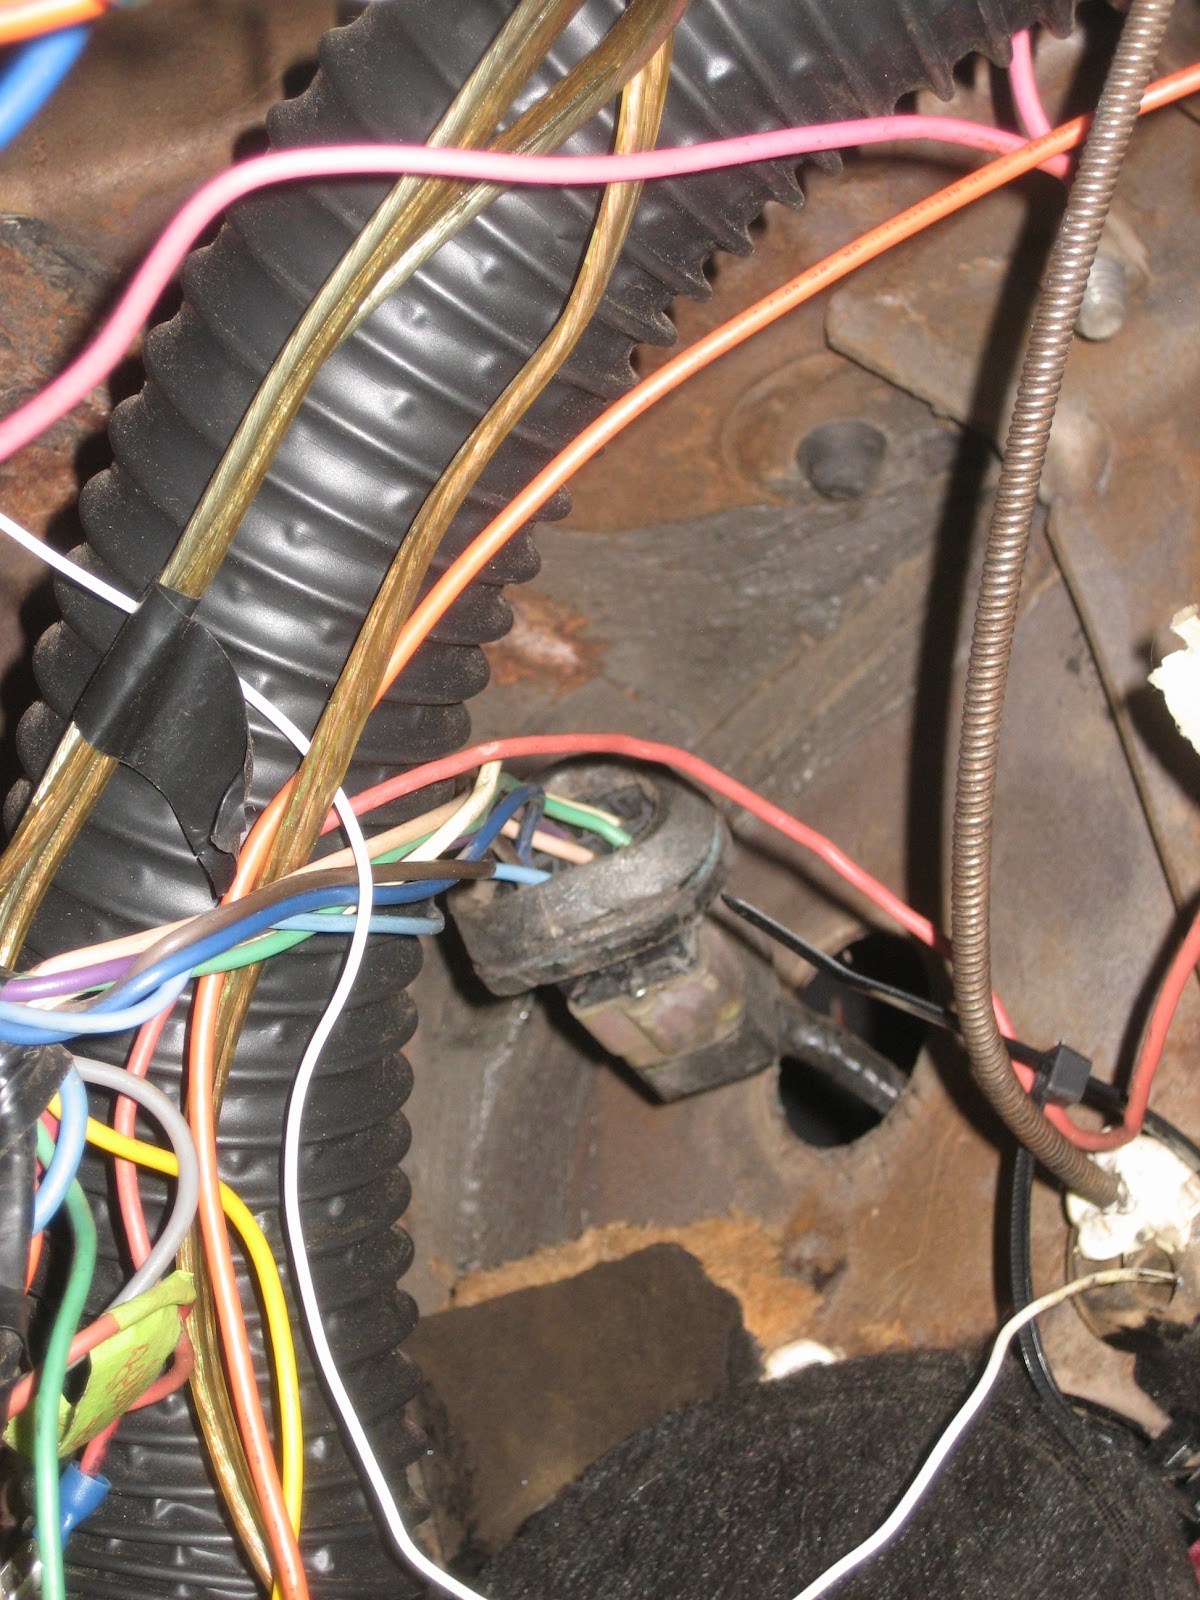
The achilles heel to most vintage classic chevrolets is its electrical system. As a car ages the last and mostly forgotten auto part is the wire harness. The electrical wires’ plastic coating will crack and have friction spots on them creating bad circuits. Every time a wire connection has electrical power turned on and off the connection builds up a little bit of corrosion. Corrosion will disrupt an electrical circuit. The Classic Chevy uses a DC electrical supply that uses the frame, engine and body as a ground. Over time those grounding points will corrode denying a complete circuit. All of this takes time, which all Tri Five Chevys have already passed through.

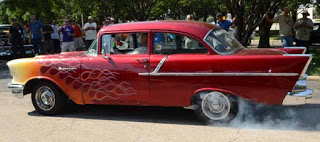
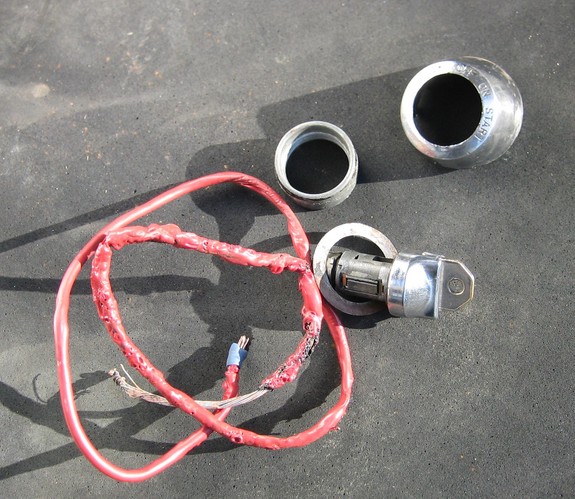
During the first 10 years of ownership of my non BelAir, 1957 Chevrolet, Model 150, 2-door Sedan eighty percent of the car’s mechanical problems were related to an outdated, badly repaired and worn out wire harness. Every connection for every light bulb and switch had to be either replaced or have corrosion cleaned off for the parts to work correctly. The wires had a million cracks in them. At some point a previous owner replace a third of the wire harness. Good right! Wrong! The person replaced the multitude of original colored wires with just red 12 gauge wire.
I tackled the unwelcome and harmful electrical problems as they came up and jerry rigged things to work as best I could for years. But, after the ignition wire burned up for the second time I had had enough. I also had plans for the need of an additional circuit for an A/C installation.
I basically, put in a new wire harness in my car over a 3 day Labor Day Weekend. The new harness has almost made my 57 brand new again. Check back later for a future blog post of my wiring harness upgrade and repair.
Description: In this blog, I well present the best practices of working on or replacing a Classic Chevy wiring connections.
After you learn the basics of automotive electrical systems, working on them is really not that hard. What is hard is finding the correct wire to fix or replace in almost impossible places to get to within the car. For years I tried my best to avoid the dark secrets of my classic car’s electrical systems. I loathed the wires and connections that disappear under the dash. The circuit that appears to be okay but does not work. The whole process can be intimidating.
The good news? With determination, persistence and having the right knowledge along with a few simple tools, repairing and updating the electrical system is a do able goal to can keep your Tri Five on the road rather than be a trailer queen. I have done the work and so can you.
To work on your typical electrical system you will need a pair of wire strippers, a soldering gun, solder, an assortment of wire connectors, heat-shrink tubing and a test light. None of these items are real expensive and are not hard to use.
I have compiled some how-tos and wiring tips to help you along.
Wire Strippers:

The biggest step to start properly repairing or installing an electrical system is the proper splicing and connecting of wires that will allow electrical parts to operate with the best efficiency, as well as provide years of trouble-free service. To make a connection or splice wires together wire insulation must be removed. My dad was old school and used his WWII Navy issued electrician's pocket knife to remove the insulation. I use a pair of wire cutters that have a gauged stripper grove. Always use the correct size stripping grove for the size of wire you will be stripping. Using too large of a grove, the plastic will not strip off. Use to small of a grove and you may cut into the wire strands or even cut the wire into 2 pieces.
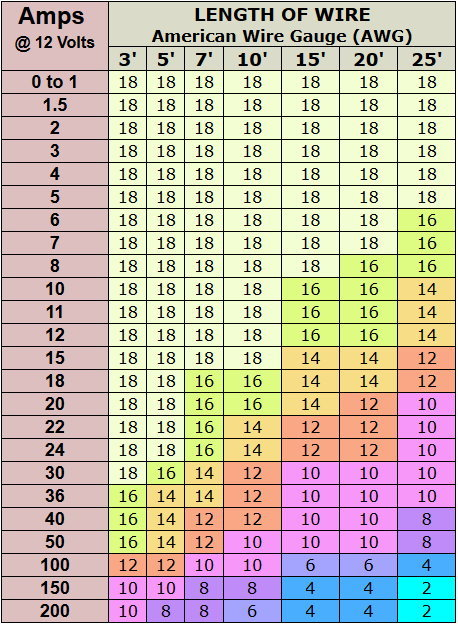
For the common man wires are described by their gauge or diameter of the wire.

The smaller the diameter the larger the gauge number or AWG (American Wire Gauge). While the size of a wire would seem like the AWG would get bigger as the wire gets fatter, however it get smaller. Without going into all the details, more current a wire uses the larger the wire diameter. 12 gauge wire for example is .0808 inches in diameter generally used for 9.3 amps of direct flow current. A 28 gauge wire is .0126 inches in diameter and will safely carry 1.4 amps.
AWG: In the American Wire Gauge (AWG), diameters can be calculated by applying the formula D(AWG)=.005·92((36-AWG)/39) inch. For the 00, 000, 0000 etc. gauges you use -1, -2, -3, which makes more sense mathematically than "double nought." This means that in American wire gage every 6 gauge decrease gives a doubling of the wire diameter, and every 3 gauge decrease doubles the wire cross sectional area. Similar to dB in signal and power levels. An approximate but accurate enough form of this formula contributed by Mario Rodriguez is D = .460 * (57/64)(awg +3) or D = .460 * (0.890625)(awg +3).
Remember that current is like the box cars of a train. More current the more boxcars. The locomotive is the voltage, that in the electrical since, pushes the boxcars. The uphill grade is the resistance. With wires you have to have enough tracks for the boxcars to pass. Not having tracks causes too much resistance and heat is made that may melt your wire.
Wires in your car are installed in different gauges that is determined by the amount of current the wire will have to carry. The light bulb in your ash tray does not need much current to light the bulb and maybe a 28 gauge wire is used. Whereas, the electric blower defroster fan may need a 12 gauge wire to handle the current needed to run the electrical motor. Just look at the size of the wire to the car’s electric starter. It has to be as big around as magic marker. http://custombatterycables.com/ recommends, 1/0 AWG for battery cables for large or hi performance 6 cylinder engines and small V8s.
Do not worry, you will not need to know all the ohm's law and math formulas to work on your car’s electrical circuits. Someone somewhere has already done that for you. You just have to copy what was there or follow directions to use the correct wire size. Remember you can always go bigger but never go smaller with choosing an electrical wire. When GM designed the Tri Five they wanted to keep costs down and profits high. One way to do so was to use the smallest gauge wire possible for any electrical circuit. There may have been only pennies saved but those pennies add up after you sell a million or more cars.
Solder is a a low-melting alloy used for joining less fusible metals.
Splicing 2 wires together:
- Strip one inch of insulation off each the end of the wires to be spliced (connected).
- Twist the ends of the now exposed stranded wire to make it more manageable and solid.
- Add a length of heat shrink tubing over and past one of the stripped ends.
- Wrap the two wire ends together.
- Put cleaning rosin on the twisted connection, apply heat to melt the rosin for it to clean the wire for the best solder adhesion. Use rosin-core solder for electrical soldering
- Apply heat near the center of the splice.
- When the wire is hot enough to melt the solder introduce the solder to the heated wire and the solder will melt and fuse the wires together.
- Allow to cool. Insure that the wire is not overheated for it may become brittle and the insulation may melt.
- Slide the shrink tubing over the splice and apply heat. A cigarette lighter may be used, although care must be taken not to burn the shrink wrap tubing. A heat gun is the best tool to use to heat the shrink wrap into a tight coating of the splice and soldered wires. A hair dryer will not make enough heat to properly apply the shrink wrap.


Attaching a solderless connector:
Crimp connectors save time and work okay if installed correctly. The most common source of failure is when the connector is not crimped correctly and the wire pulls out. (Alway give the wire a tug to test the connection) If you are doing a car and want the job to look and work the best you really should solder the connections.
Steps for attaching a solderless connector:
- Strip the wire back just enough for the bare end to reach through the inner sleeve.
- Place the connector over the stripped end.
- Using the correct crimp size oval of a crimping pliers, crimp the connector.
- Tug on the connector to test to see if it will stay on.


Tri-Five Chevrolet and Vintage Automotive Electrical Circuits:
TRI5 wiring circuits use a negative ground. The best way in the simplest terms is to describe a complete electrical circuit is that power comes from the positive side of the battery down the wire to a light bulb. The electrical current illuminates the bulb. To light the bulb the current must be in
a loop from the battery to the bulb (load) and back to the battery. The AC wire used in your home has two wires for a circuit. The power flows to the bulb and returns to the power source by another wire. A car circuit has power to the bulb and to complete the loop the bulb’s socket is grounded to bare metal. That metal to metal connection mostly by the frame of the car returns the electrical flow to the battery. This explanation is not totally correct but gives the unknowing person a basic understanding of electricity.
All that being said, a good ground will make the difference between a good and a bad electrical system. If you are having weird problems with your electrical system it will most likely be bad grounds.

Always reconnect factory grounds after working on a car electrical system. The battery must be grounded to the engine block and the block to the frame. The body of the car should be grounded to both the block and the frame. Over time, natural ground connections corrode and are not as effective. It is recommended to install an extra ground wire to both the block and the frame. Many small annoying-weird electrical gremlins may be disposed of by adding grounds. For example: Ground one of the screws to the gas tank a float inspection plate screw to help your gas gauge to work correctly.
Basic Electricity Explained:
To best understand electrical systems a person first must understand the basic terms.
Volts:
A volt is the unit of measurement for electrical pressure. The pushing force.
Amperes (amps)
The ampere is a unit used to measure the amount of current flow. Or, the measurement of the flow of electrons past a point. When 6.28 billion billion electrons pass a point in 1 second, that symbolizes 1 amp of current.
Ohms:
Voltage Drop:
 Voltage drop is the loss in voltage that happens when current encounters resistance. The greater the resistance, the greater the voltage drop. Example 1: you use a jumper cable to start a friends car and it works fine. Then you have to take 2 jumper cables and hook them in parallel to bridge a longer distance and now the car will not start. The longer wires make more voltage drop and do not supply enough power to crank the engine. Example 2, you loaned out your $45 jumper cables and they are not returned. Your car will not start. You have to go to the discount box store and buy $10 jumper cables. The cheap cables don’t work. Reason, they are made with a smaller gauge wire that has too great a voltage drop and not giving you car the required power to turn the motor over.
Open Circuit:
Grounds:
 The ground represents the desirable return path for the circuit. Since electricity alway need a return path, the ground circuit is needed for current flow. Non working components, dim headlights, slow-cranking engines can be caused by poor grounds. In some cases, a poor ground can cause you wire harness to melt due to high resistance.
Multimeters:
 A multimeter is a very versatile component for deciphering electrical problems. A multimeter can measure both AC and DC current and resistance. A meter can test diodes and continuity. Both the multimeter and a test light can test for a closed circuit, however the multimeter has more functions to better understand electrical circuits, conductors load devices and power sources.
++++
#Classicchevy #TriFive #ClassicCar #Chevy #Chevrolet #Belair #Carshow #Custom #Musclecar #HotRod #StreetRod #DragRacing #55Chevy #56Chevy #57Chevy
!!!Support Texas Classic Experience!!!
Did you like the blog? If you did, the best way to support Texas Classic Experience is to share this post! Please tell others that you liked this post by sharing it with your car friends by sending them a link to this page. http://texasclassicchevyexperience.blogspot.com/